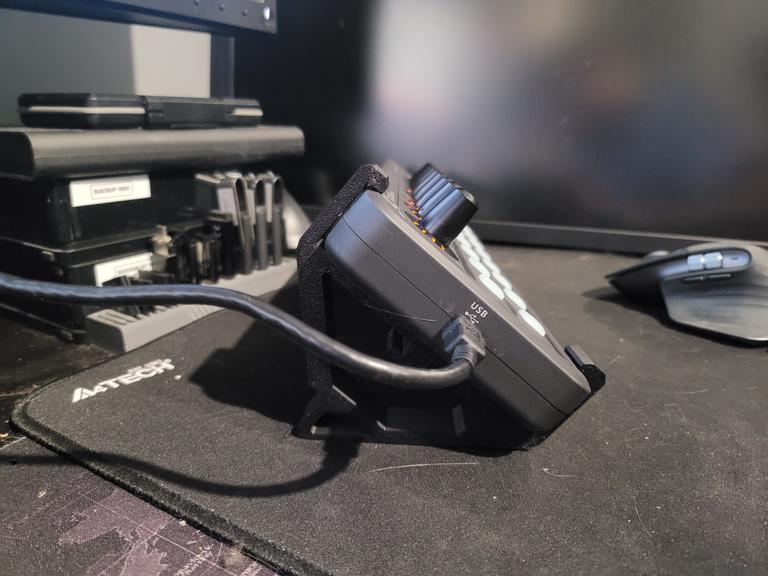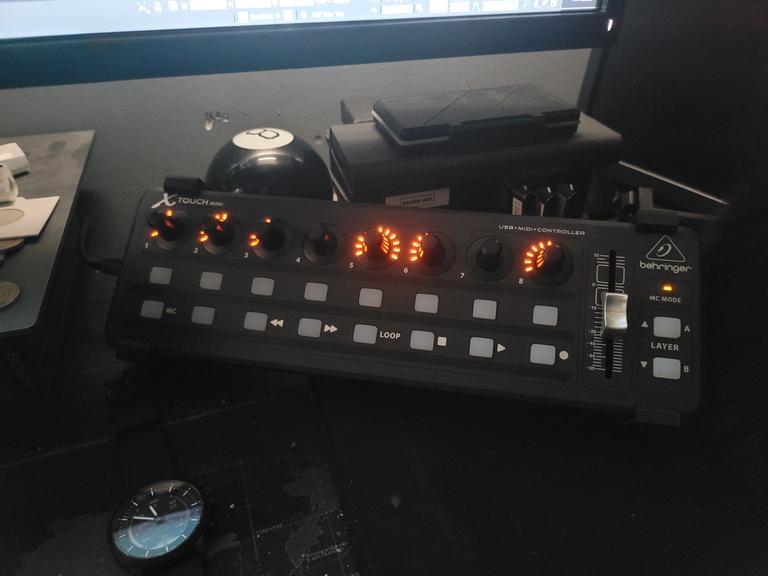
Behringer X-Touch mini, setup, impressions, 3d printed addons.
by piro
I always liked photos of pc setups from people who worked with music. They show-off these large decks with knobs, sliders, leds and switches. Personally never been really into music making, I couldn't find excuse to get even the smallest controller board.
This changed recently, as I've started using OBS more and more to record and stream my work, as well process my audio during calls (noise cancelling, some plugins to make voice bit warmer and softer, etc - Might write a post about it at some point), suddenly I've found myself controlling 3+ audio devices. That sounded perfectly as reason for getting a midi controller board!
After some research what device is most idiot-proof yet functional, setting up my own requirements and use-cases (separate encoders for audio sources, few buttons for muting separate sources / binding various scripts/effect, one separate control for all sources at once) I've updated my own setup with Behringer X-Touch mini:
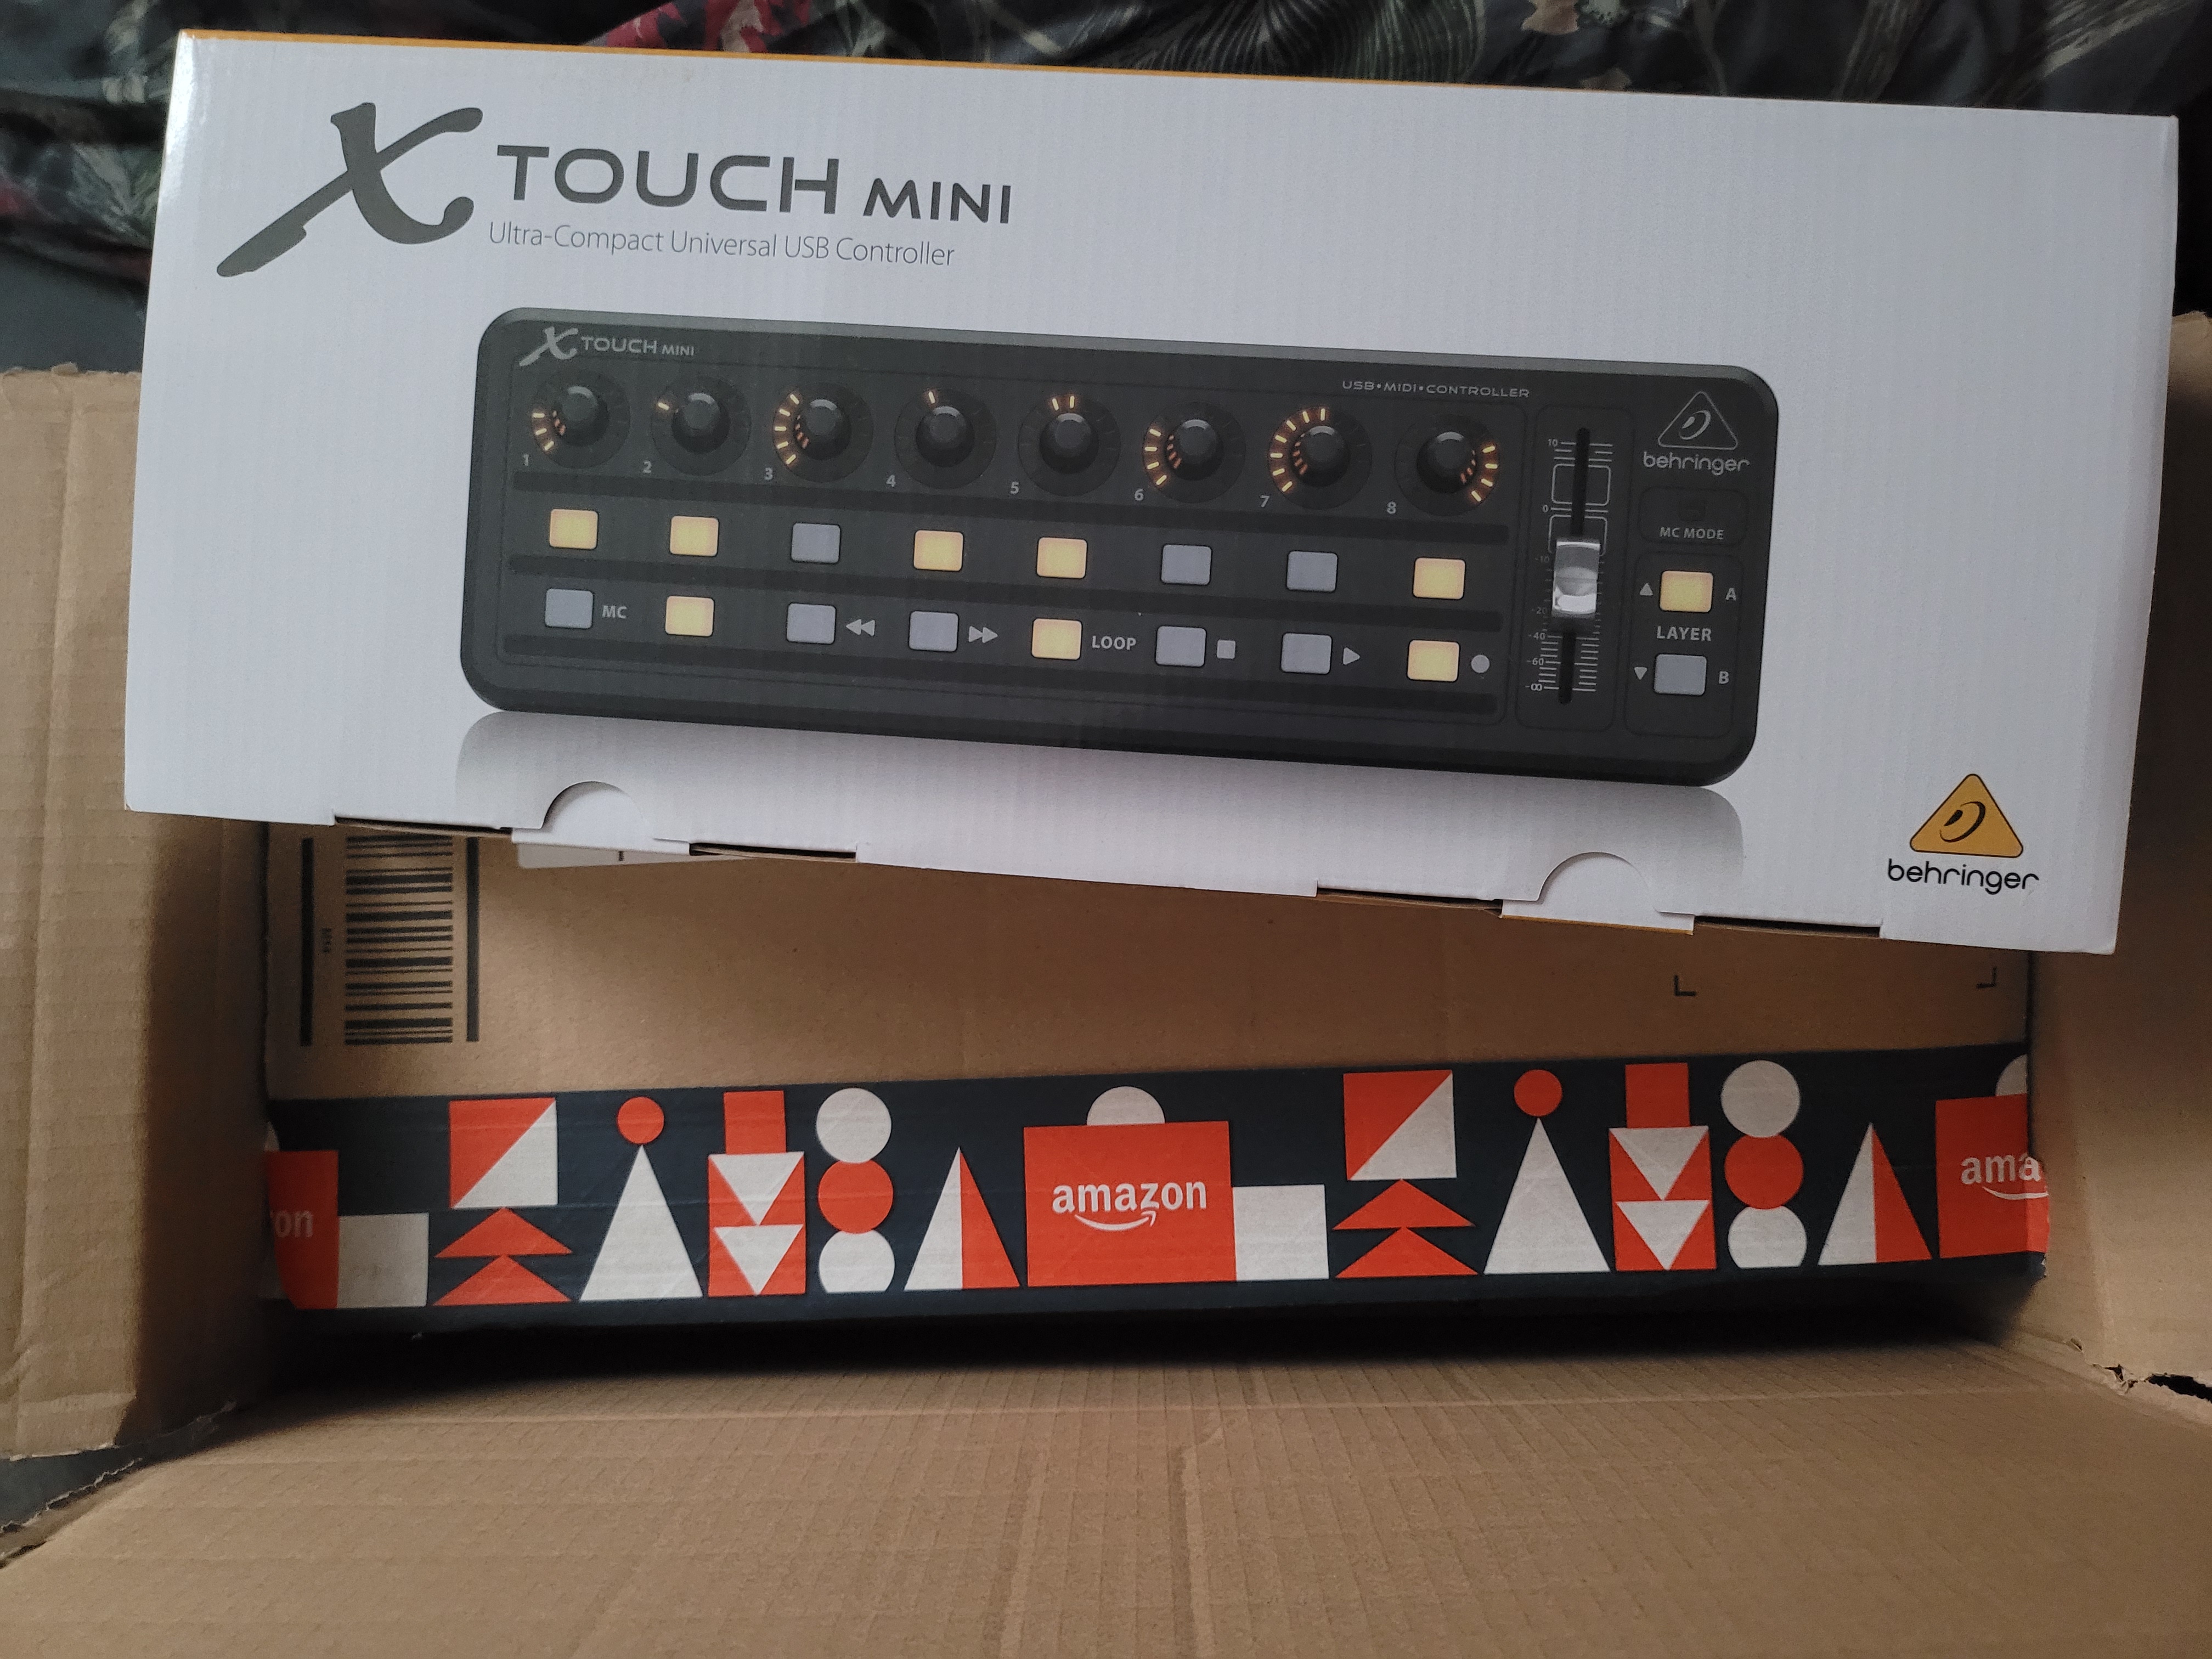
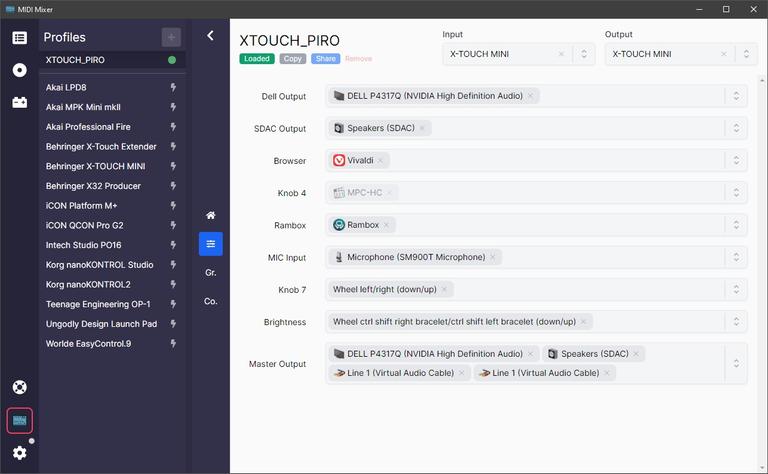
After connecting it and installing behringer software, I've realised I have no idea how to use it with windows, as I'm not going to produce music, and have no music making software installed, nor I really want to install it. Quick google session pointed me to:
https://www.midi-mixer.com which turned out to be very handy, and after some read up and tinkering, did the trick:
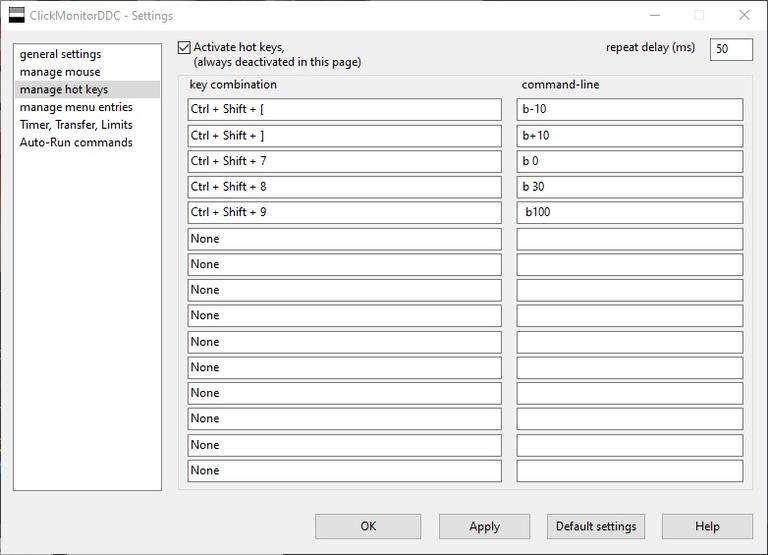
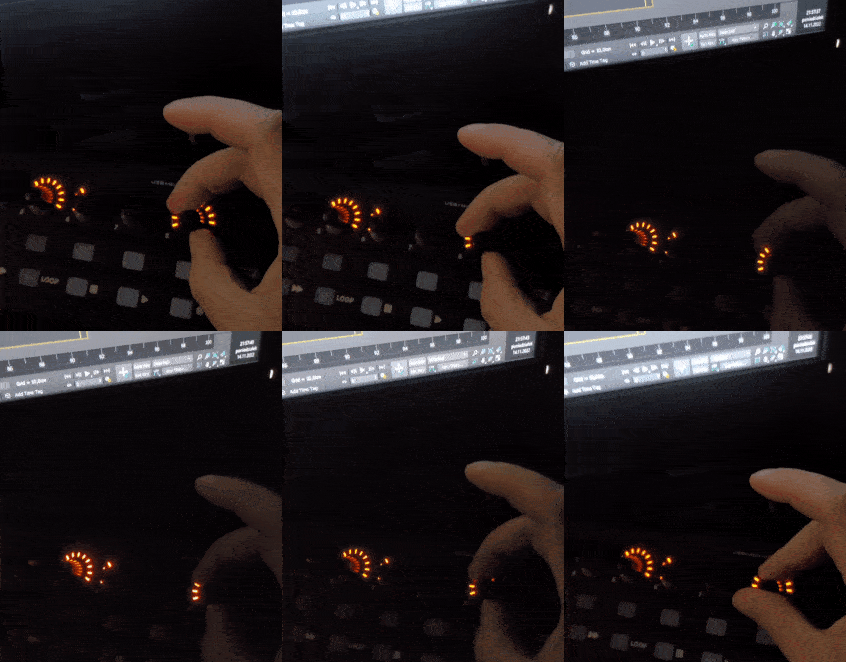
third screen is from ClickMonitorDCC, that controls brightness of my Dell 4317Q screens, and catches output from Push-to-talk plugin encoder output for fine-tine brightness, or three preset brightness controlled by buttons on controller.
Code for encoders to work with my hotkeys:
This goes for buttons, sends commands for 0, 30, 100% brightness:~16+17+55(ctrl shift 7), ~16+17+56(ctrl shift 8), ~16+17+57(ctrl shift 9)
This goes for encoders, and handles fine-tuning brightness by sending hotkeys every knob rotation click, as well sending left/right/up/down after changing layers/assign mode, as well some other software value changes:~16+17+219(ctrl shift right bracelet)[~16+17+~40(down)]/~16+17+221(ctrl shift left bracelet)[~16+17+~38(up)], ~37(left)[~40(down)]/~39(right)[~38(up)]
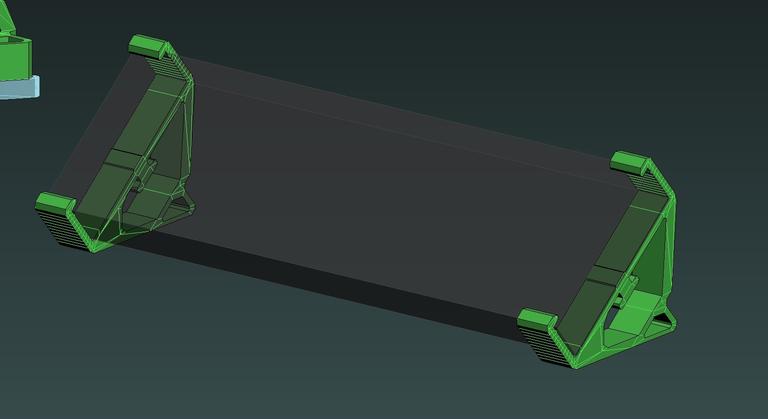
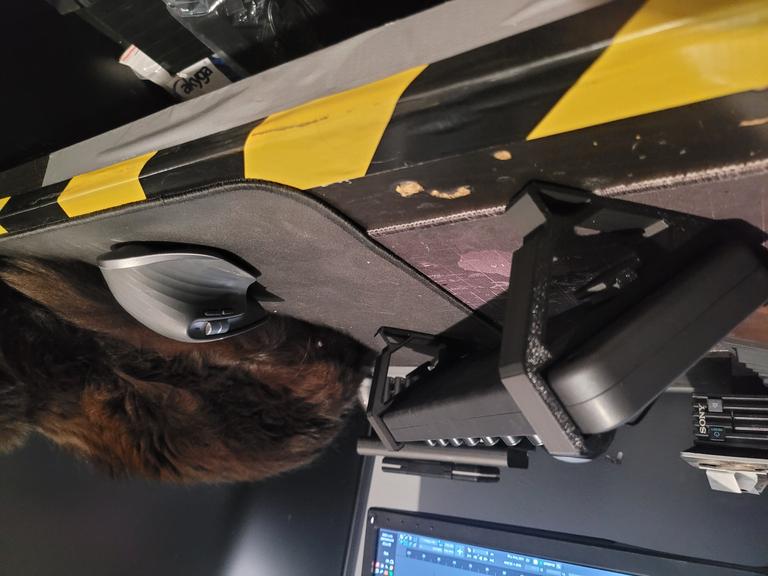
While device worked fine by itself, it was lying flat on desk, which made using it suboptimal. ITS 3D PRINTING TIME.
Here's presentation of how brightness control works on encoder (with little nifty hack to have leds change with changing value):
I was pleased with what I've achieved, HOWEVER!
Having an TP-link UH720 usb hub lying around, that was always moved from place to place, and I didn't had time for making an under-desk mount for it. So why not mount it to the controller itself? ITS 3D PRINTING TIME (#2)
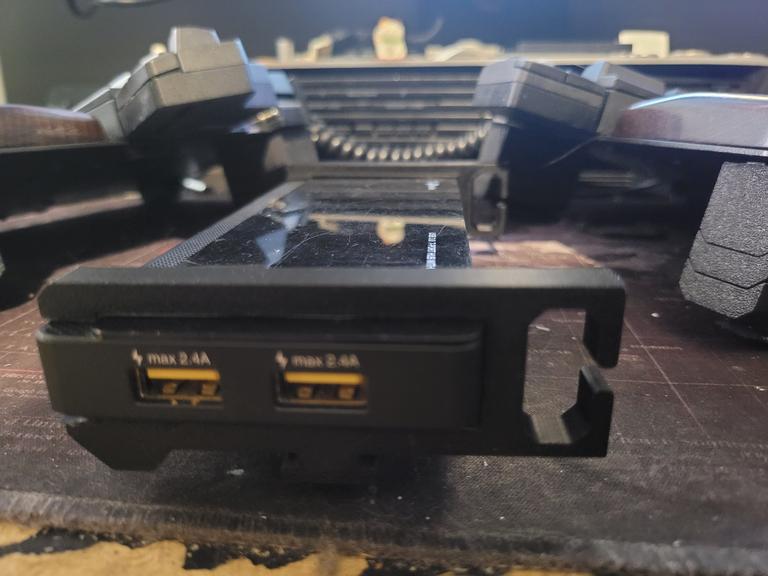
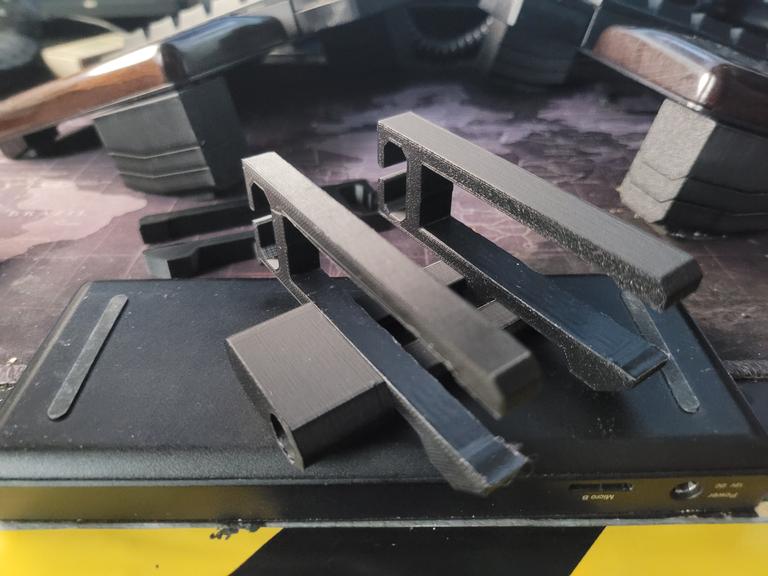
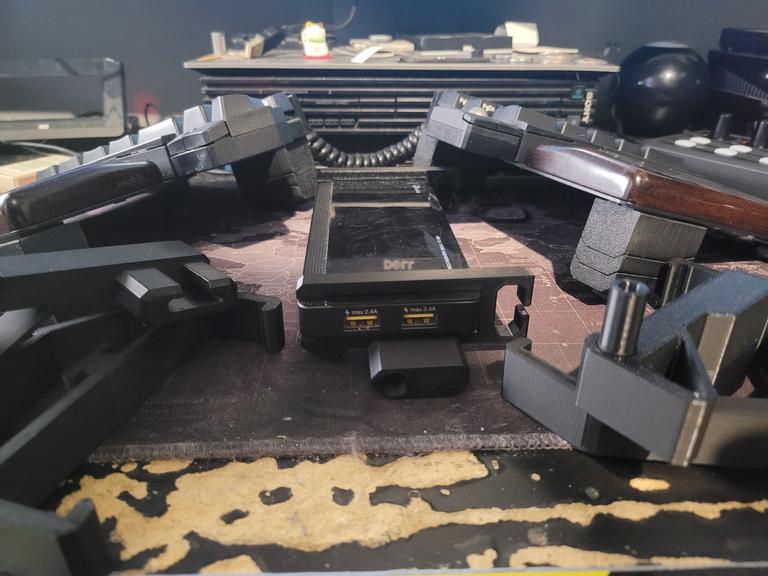
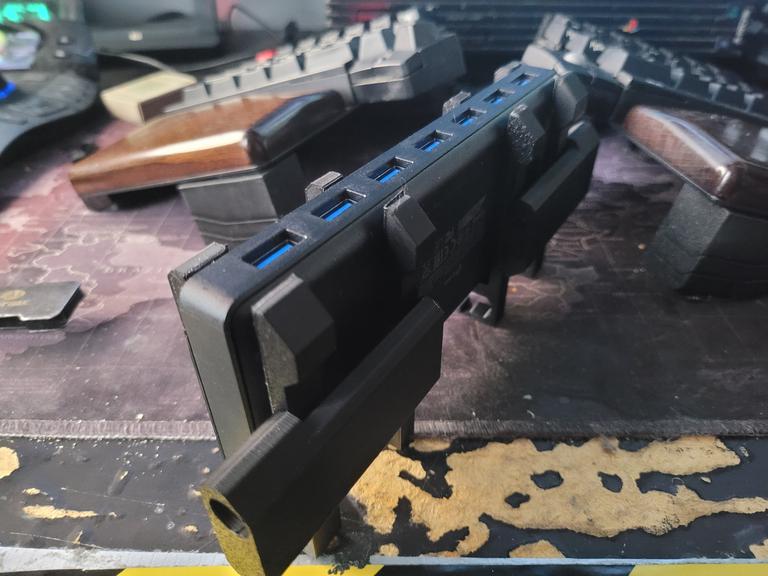
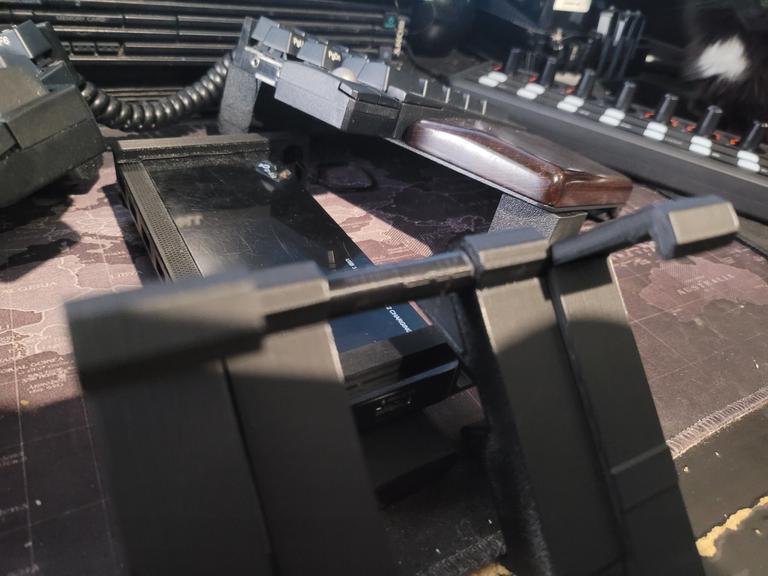
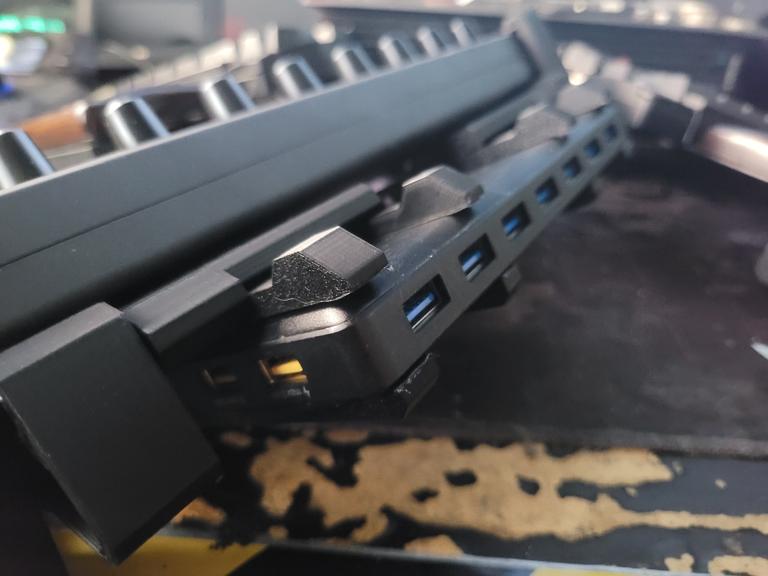
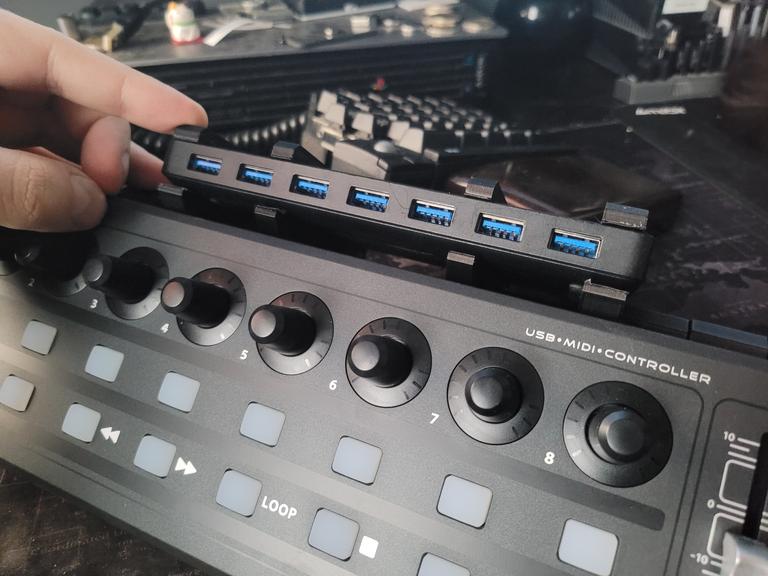
(Pictures have descriptions)
After assembly, it works like that, and I'm perfectly happy with it:
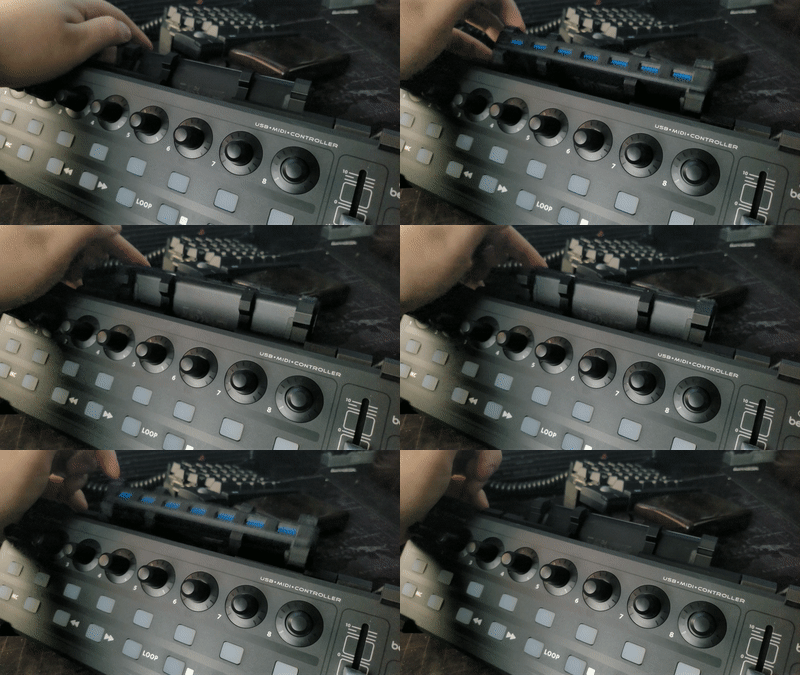
All whats left is to order some angled-mini usb cable so I can connect behringer controller to hub itself with shorter, more fitting cable than long, straight sticking one, and I'll be happy with it.
Files will be put on my github, and most likely on thingiverse/printables as well when i have some time for cleanup.
EDIT:
ITS ON PRINTABLEEEES:
BEHRINGER Xtouch Mini Elevated Stand
Behringer Xtouch MINI Stand - USB HUB UH720 module addon
